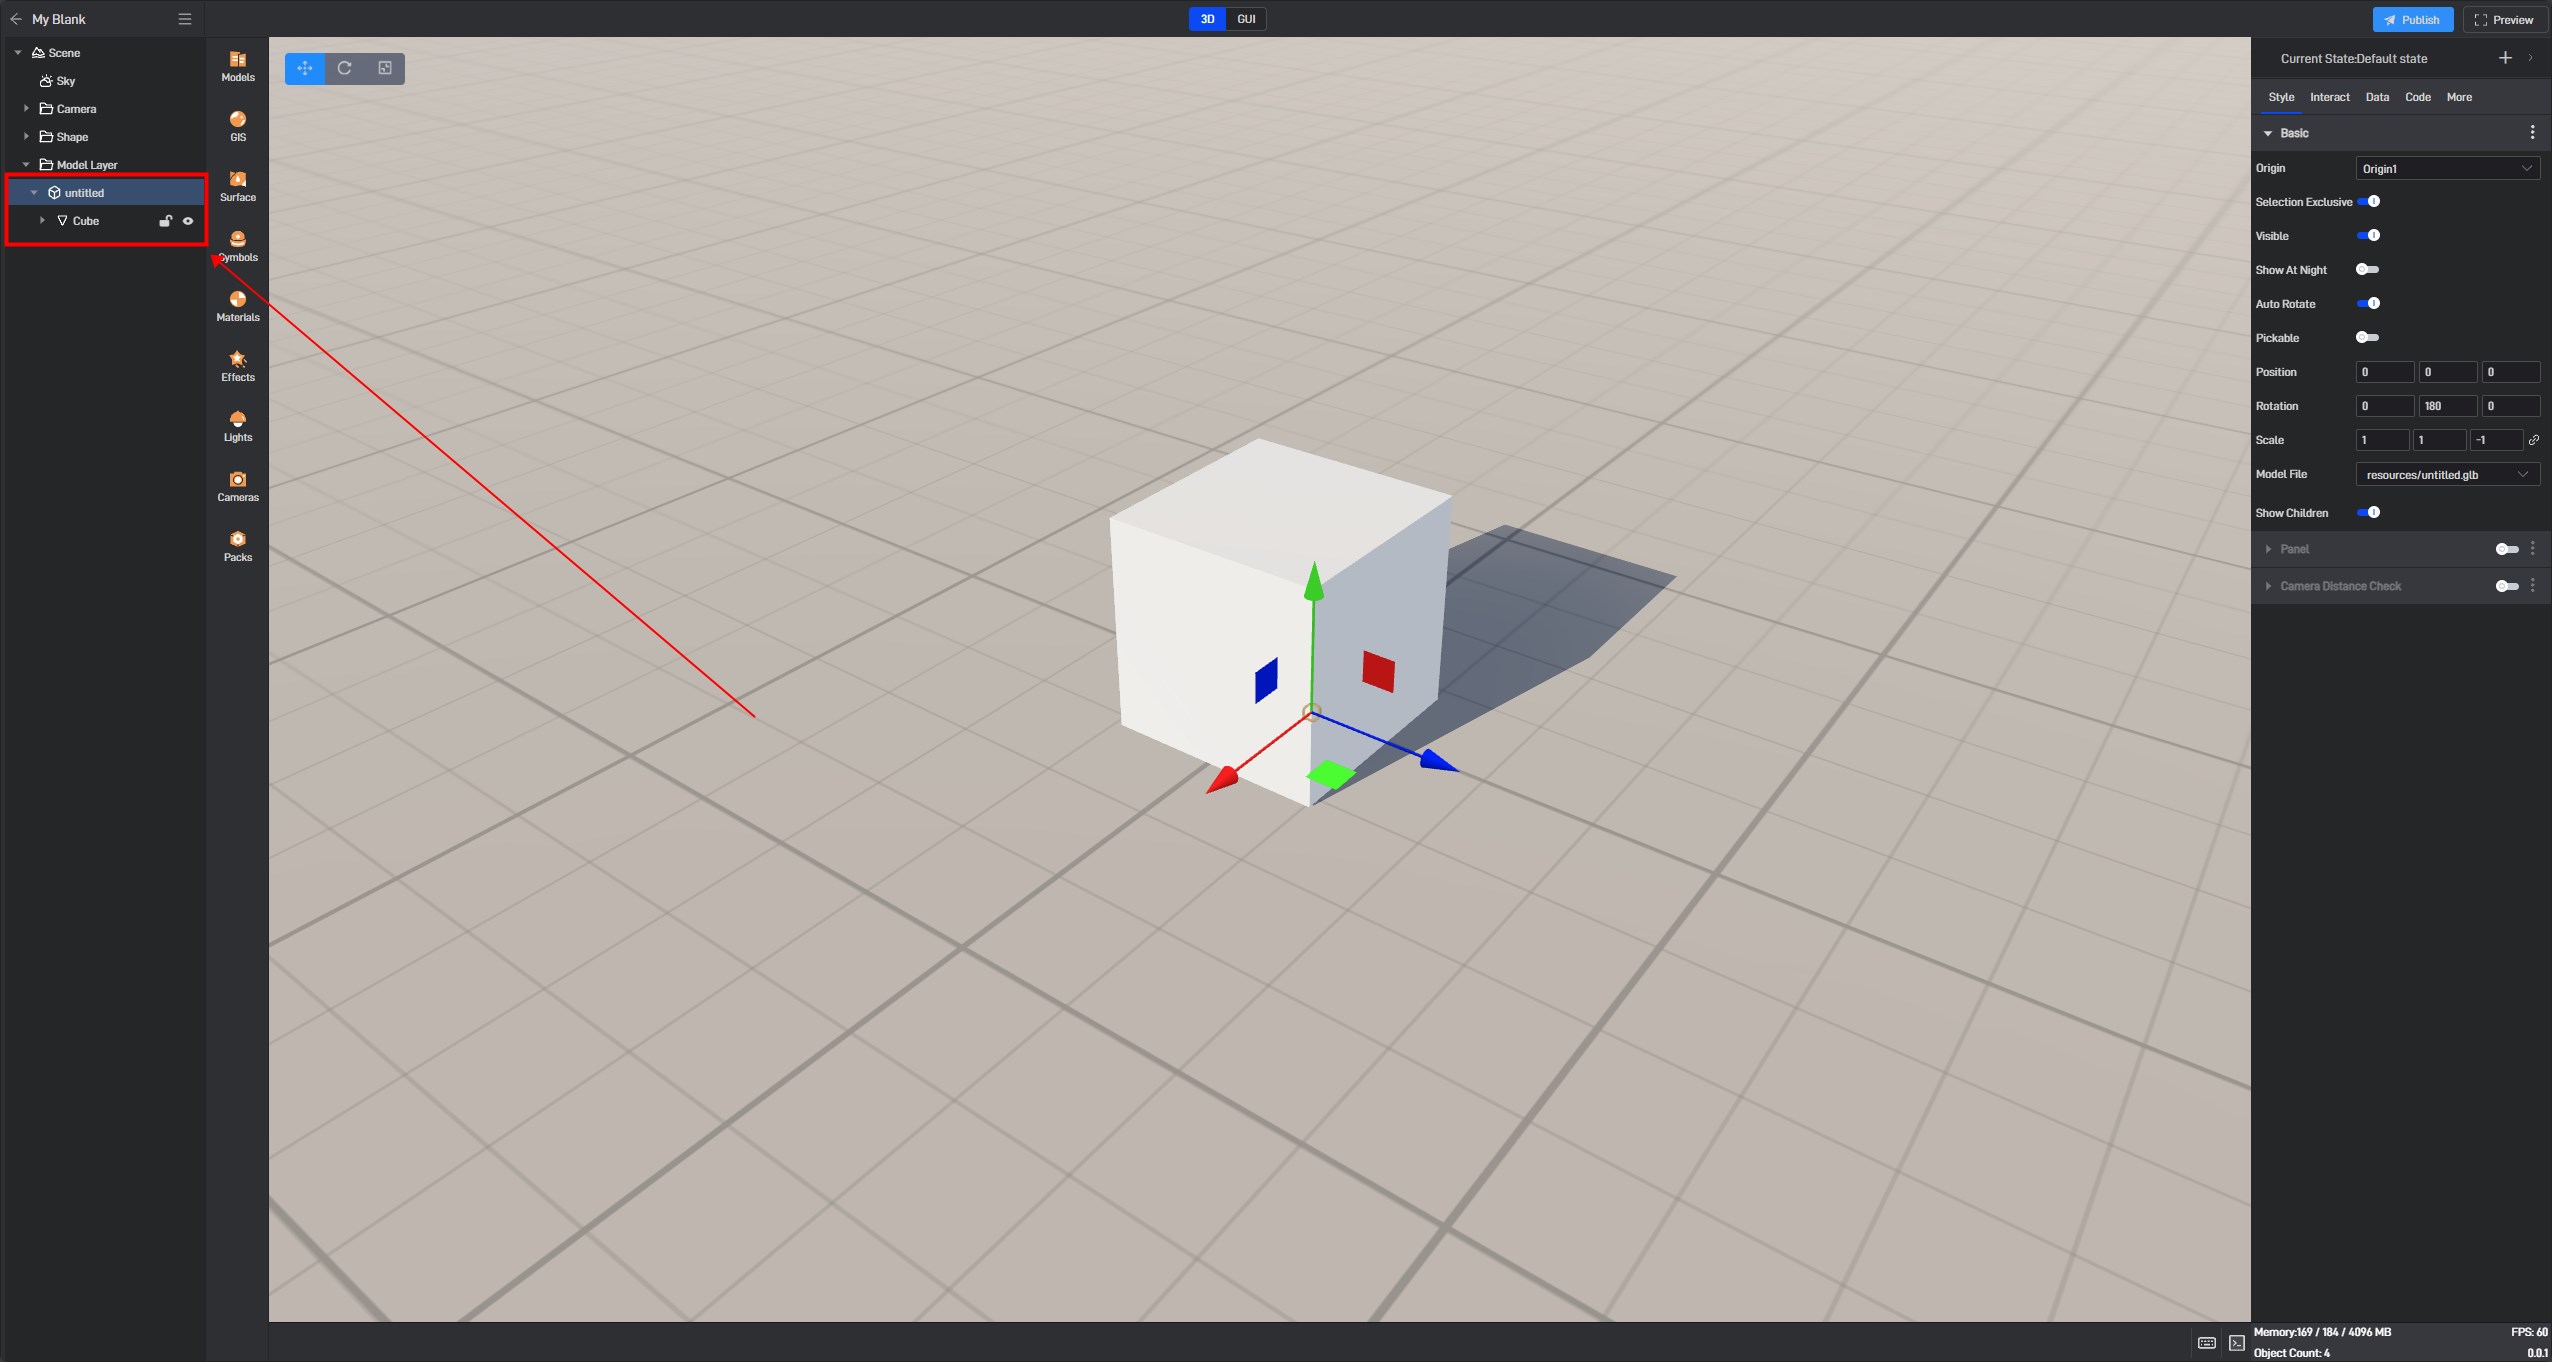
Revit Import into Wings Engine
**Tip: **This tutorial demonstrates the operation process using the official trial version of the software. Please purchase the official full version for regular use.
1. Exporting DAE Model Files from Revit
1.1 Install the Export Plugin
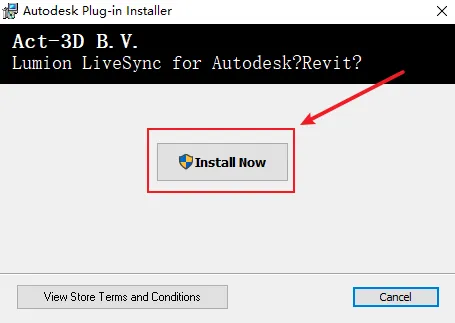
First, close the Revit program on your computer. Then, download the plugin installer package by clicking** [here]**. Once the download is complete, open the package and click “Install Now” to start the installation.
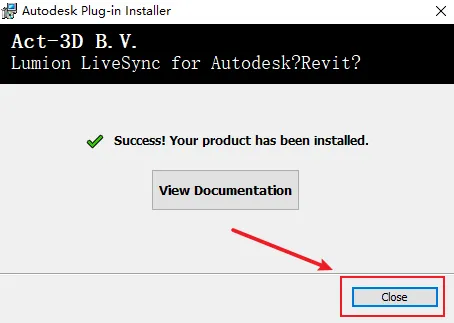
After the installation is complete, click “Close” to exit the installer.
1.2 Export DAE Model Files
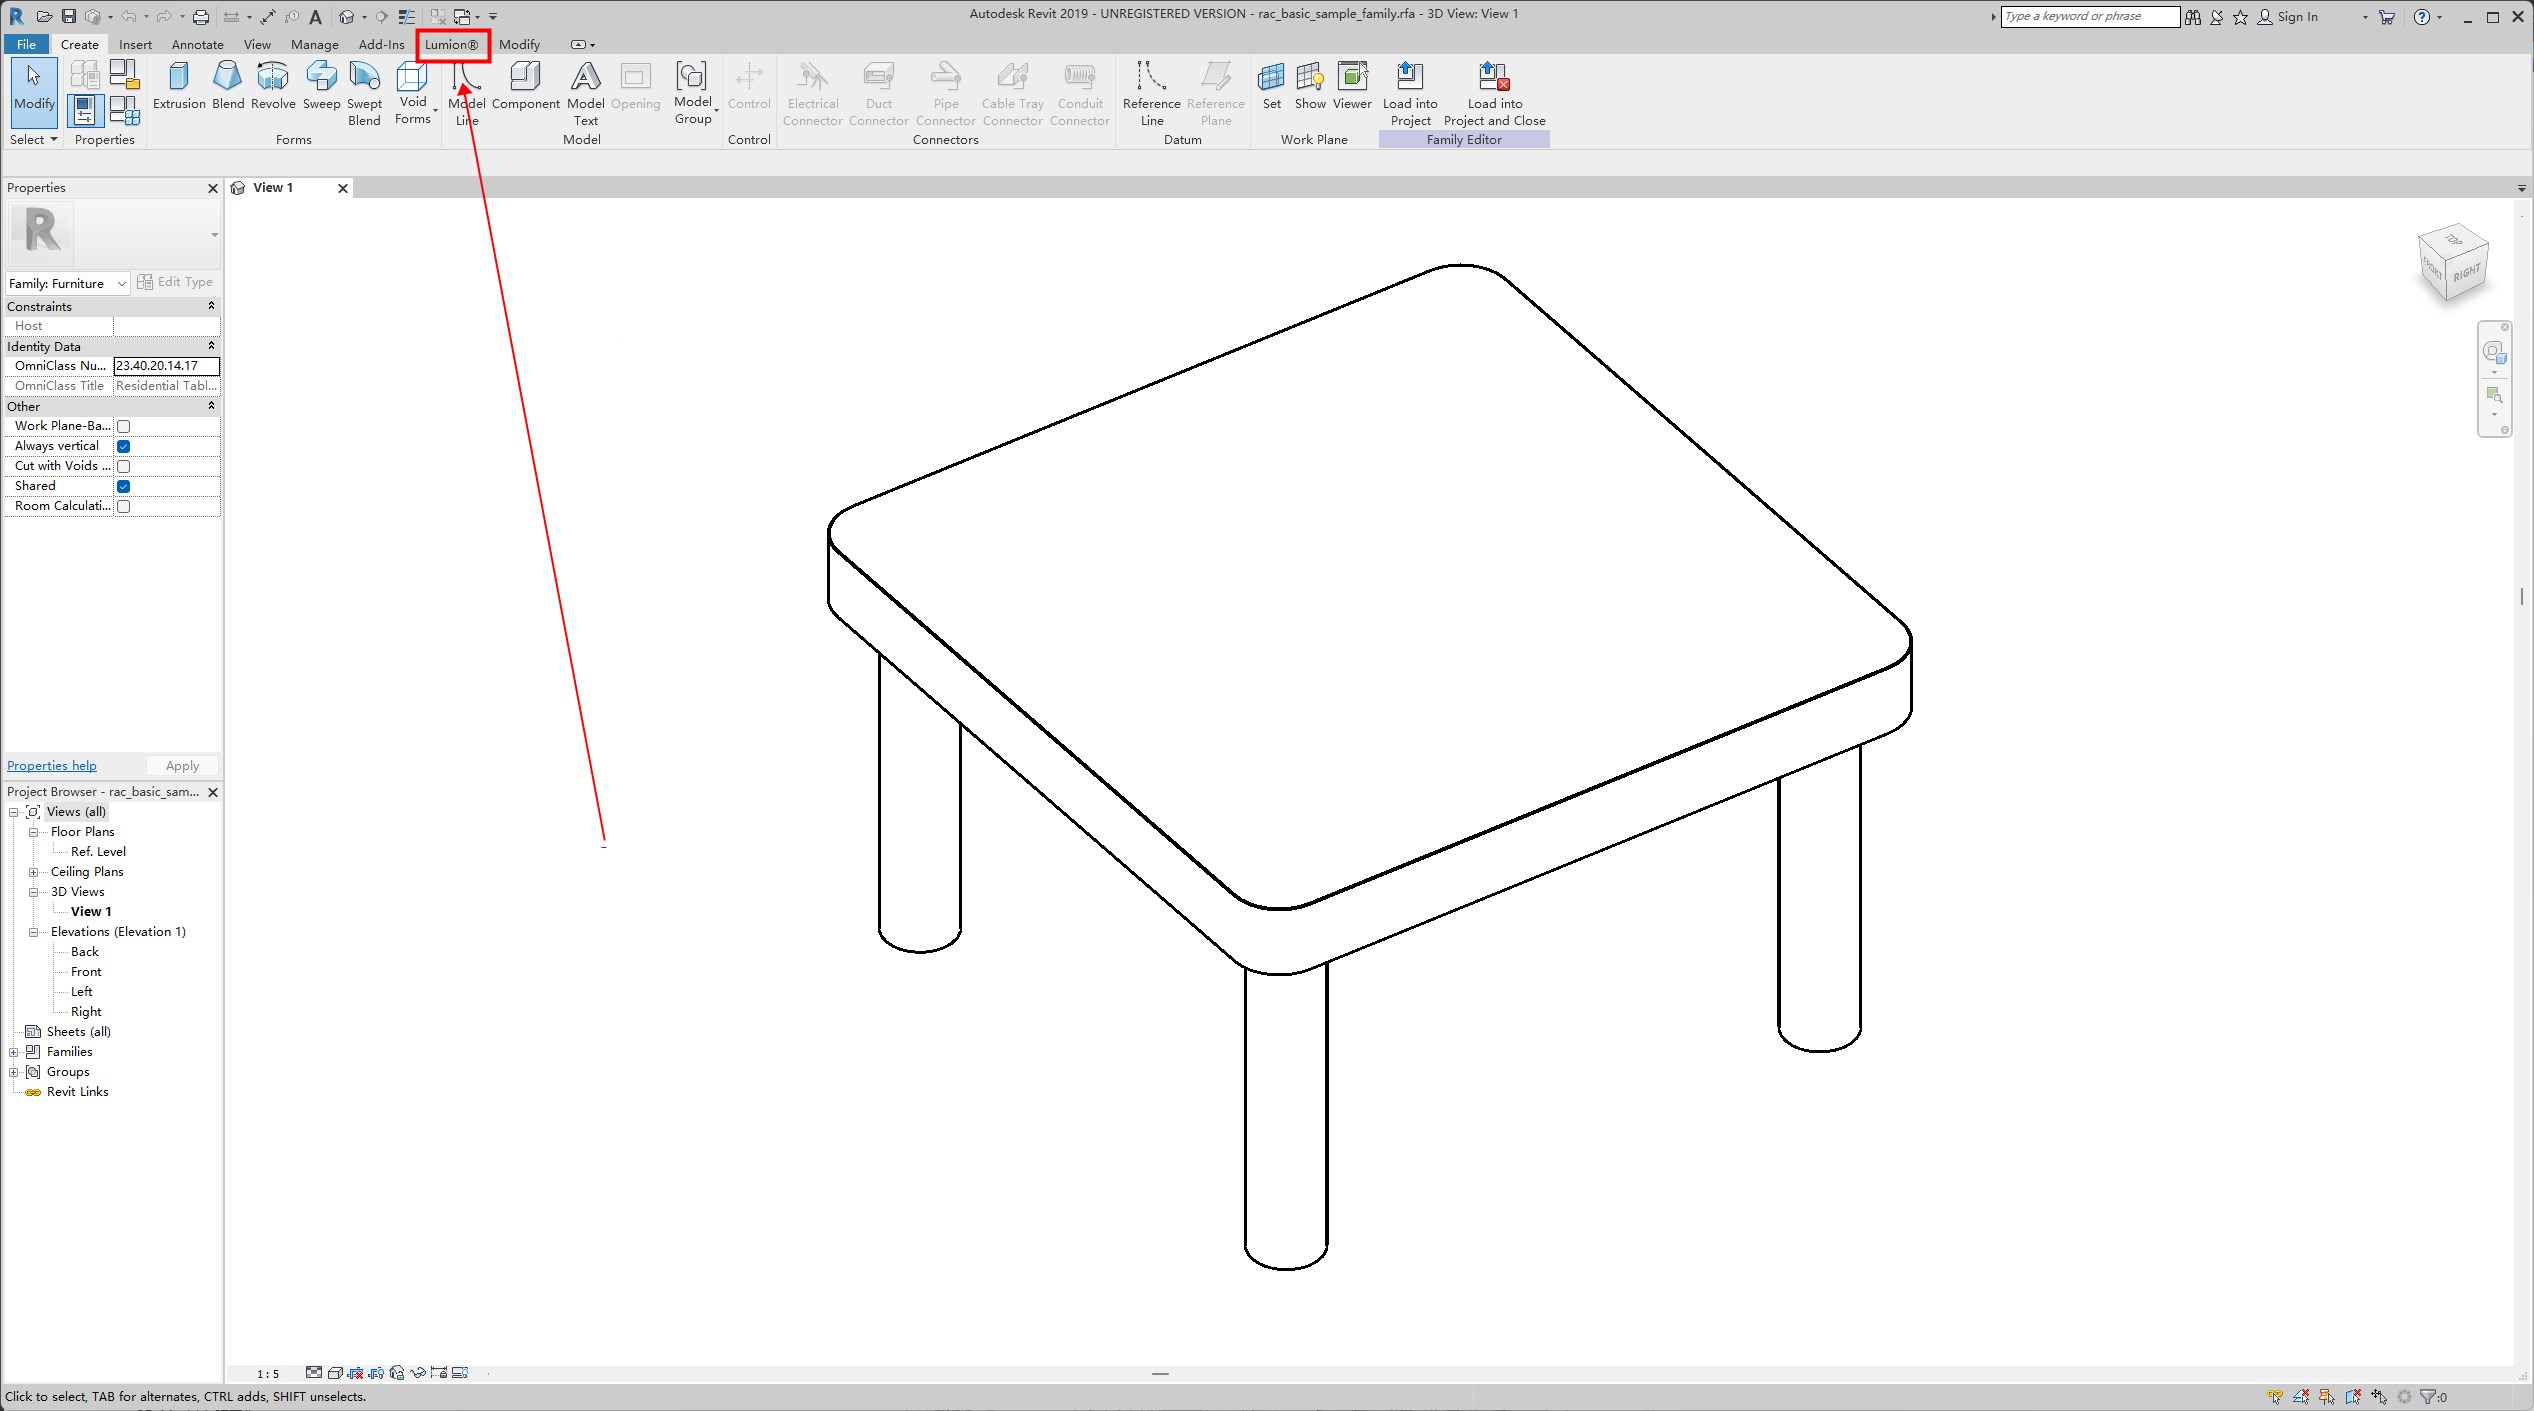
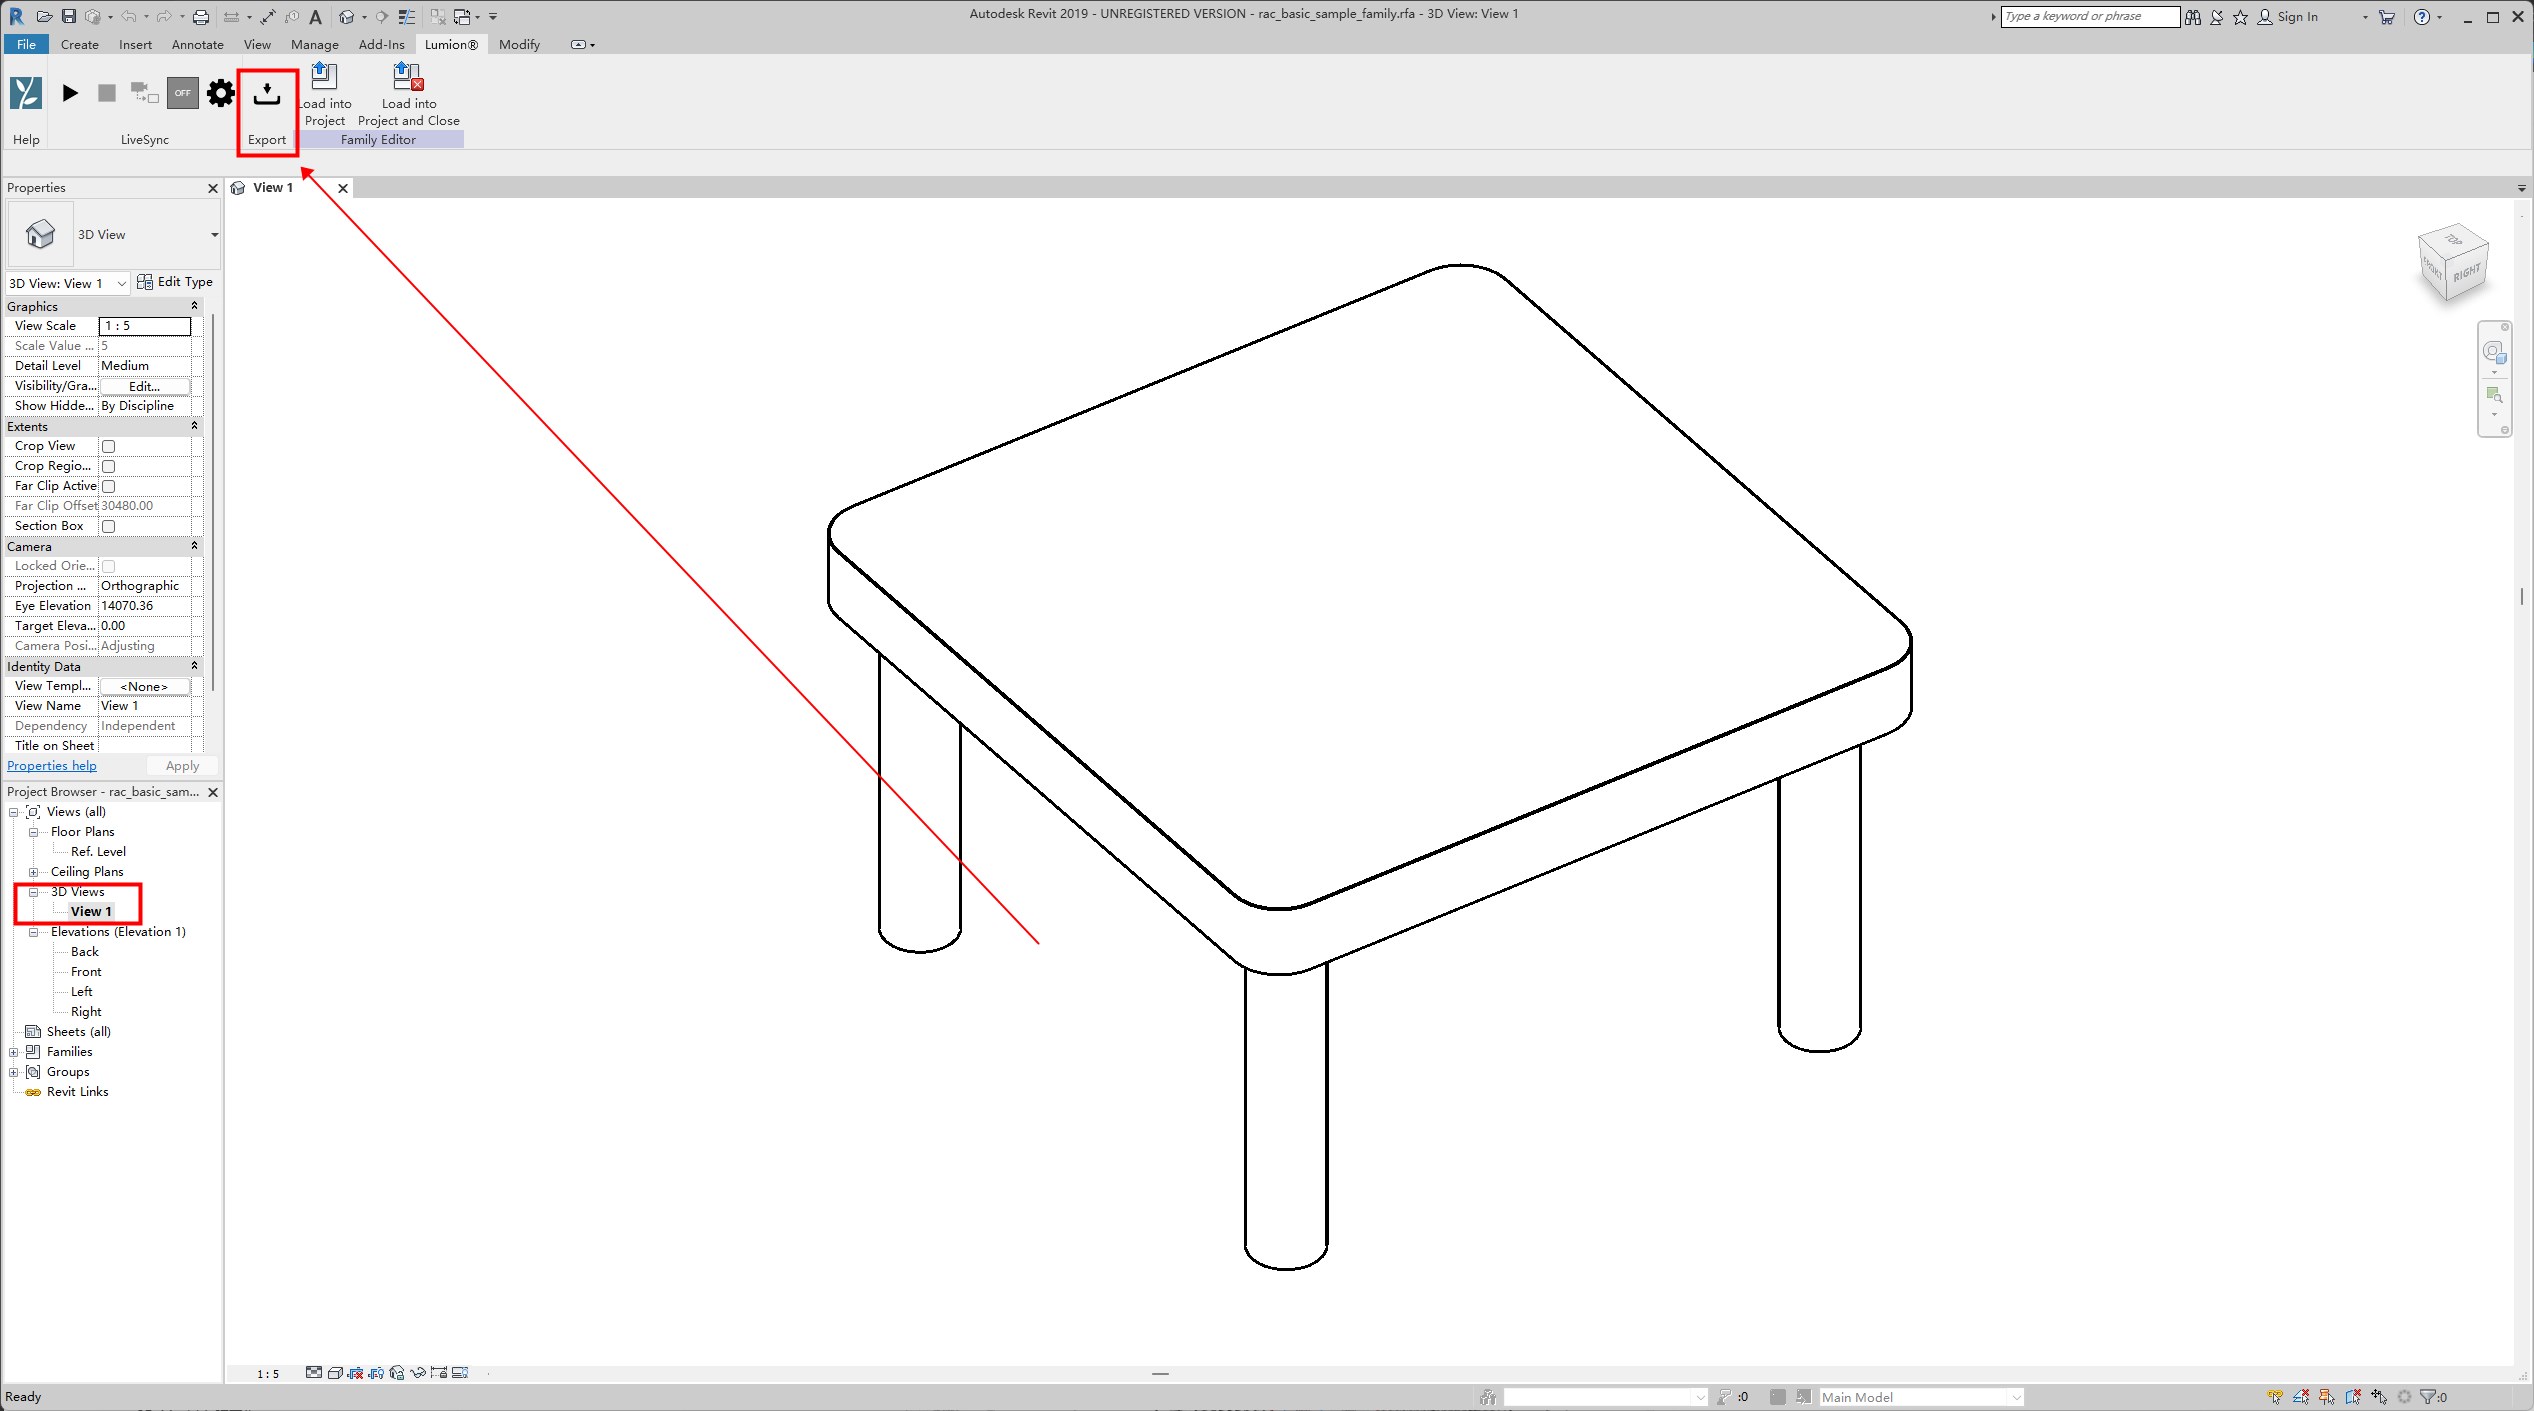
Start Revit and open your project. You should see the Lumion plugin panel title in the toolbar.
Open the Revit file, select the views you have set up for export, and switch to the Lumion panel, then click “Export”.
[Tips] To view the overall architectural effect, you can directly export the 3D model of the entire building view.
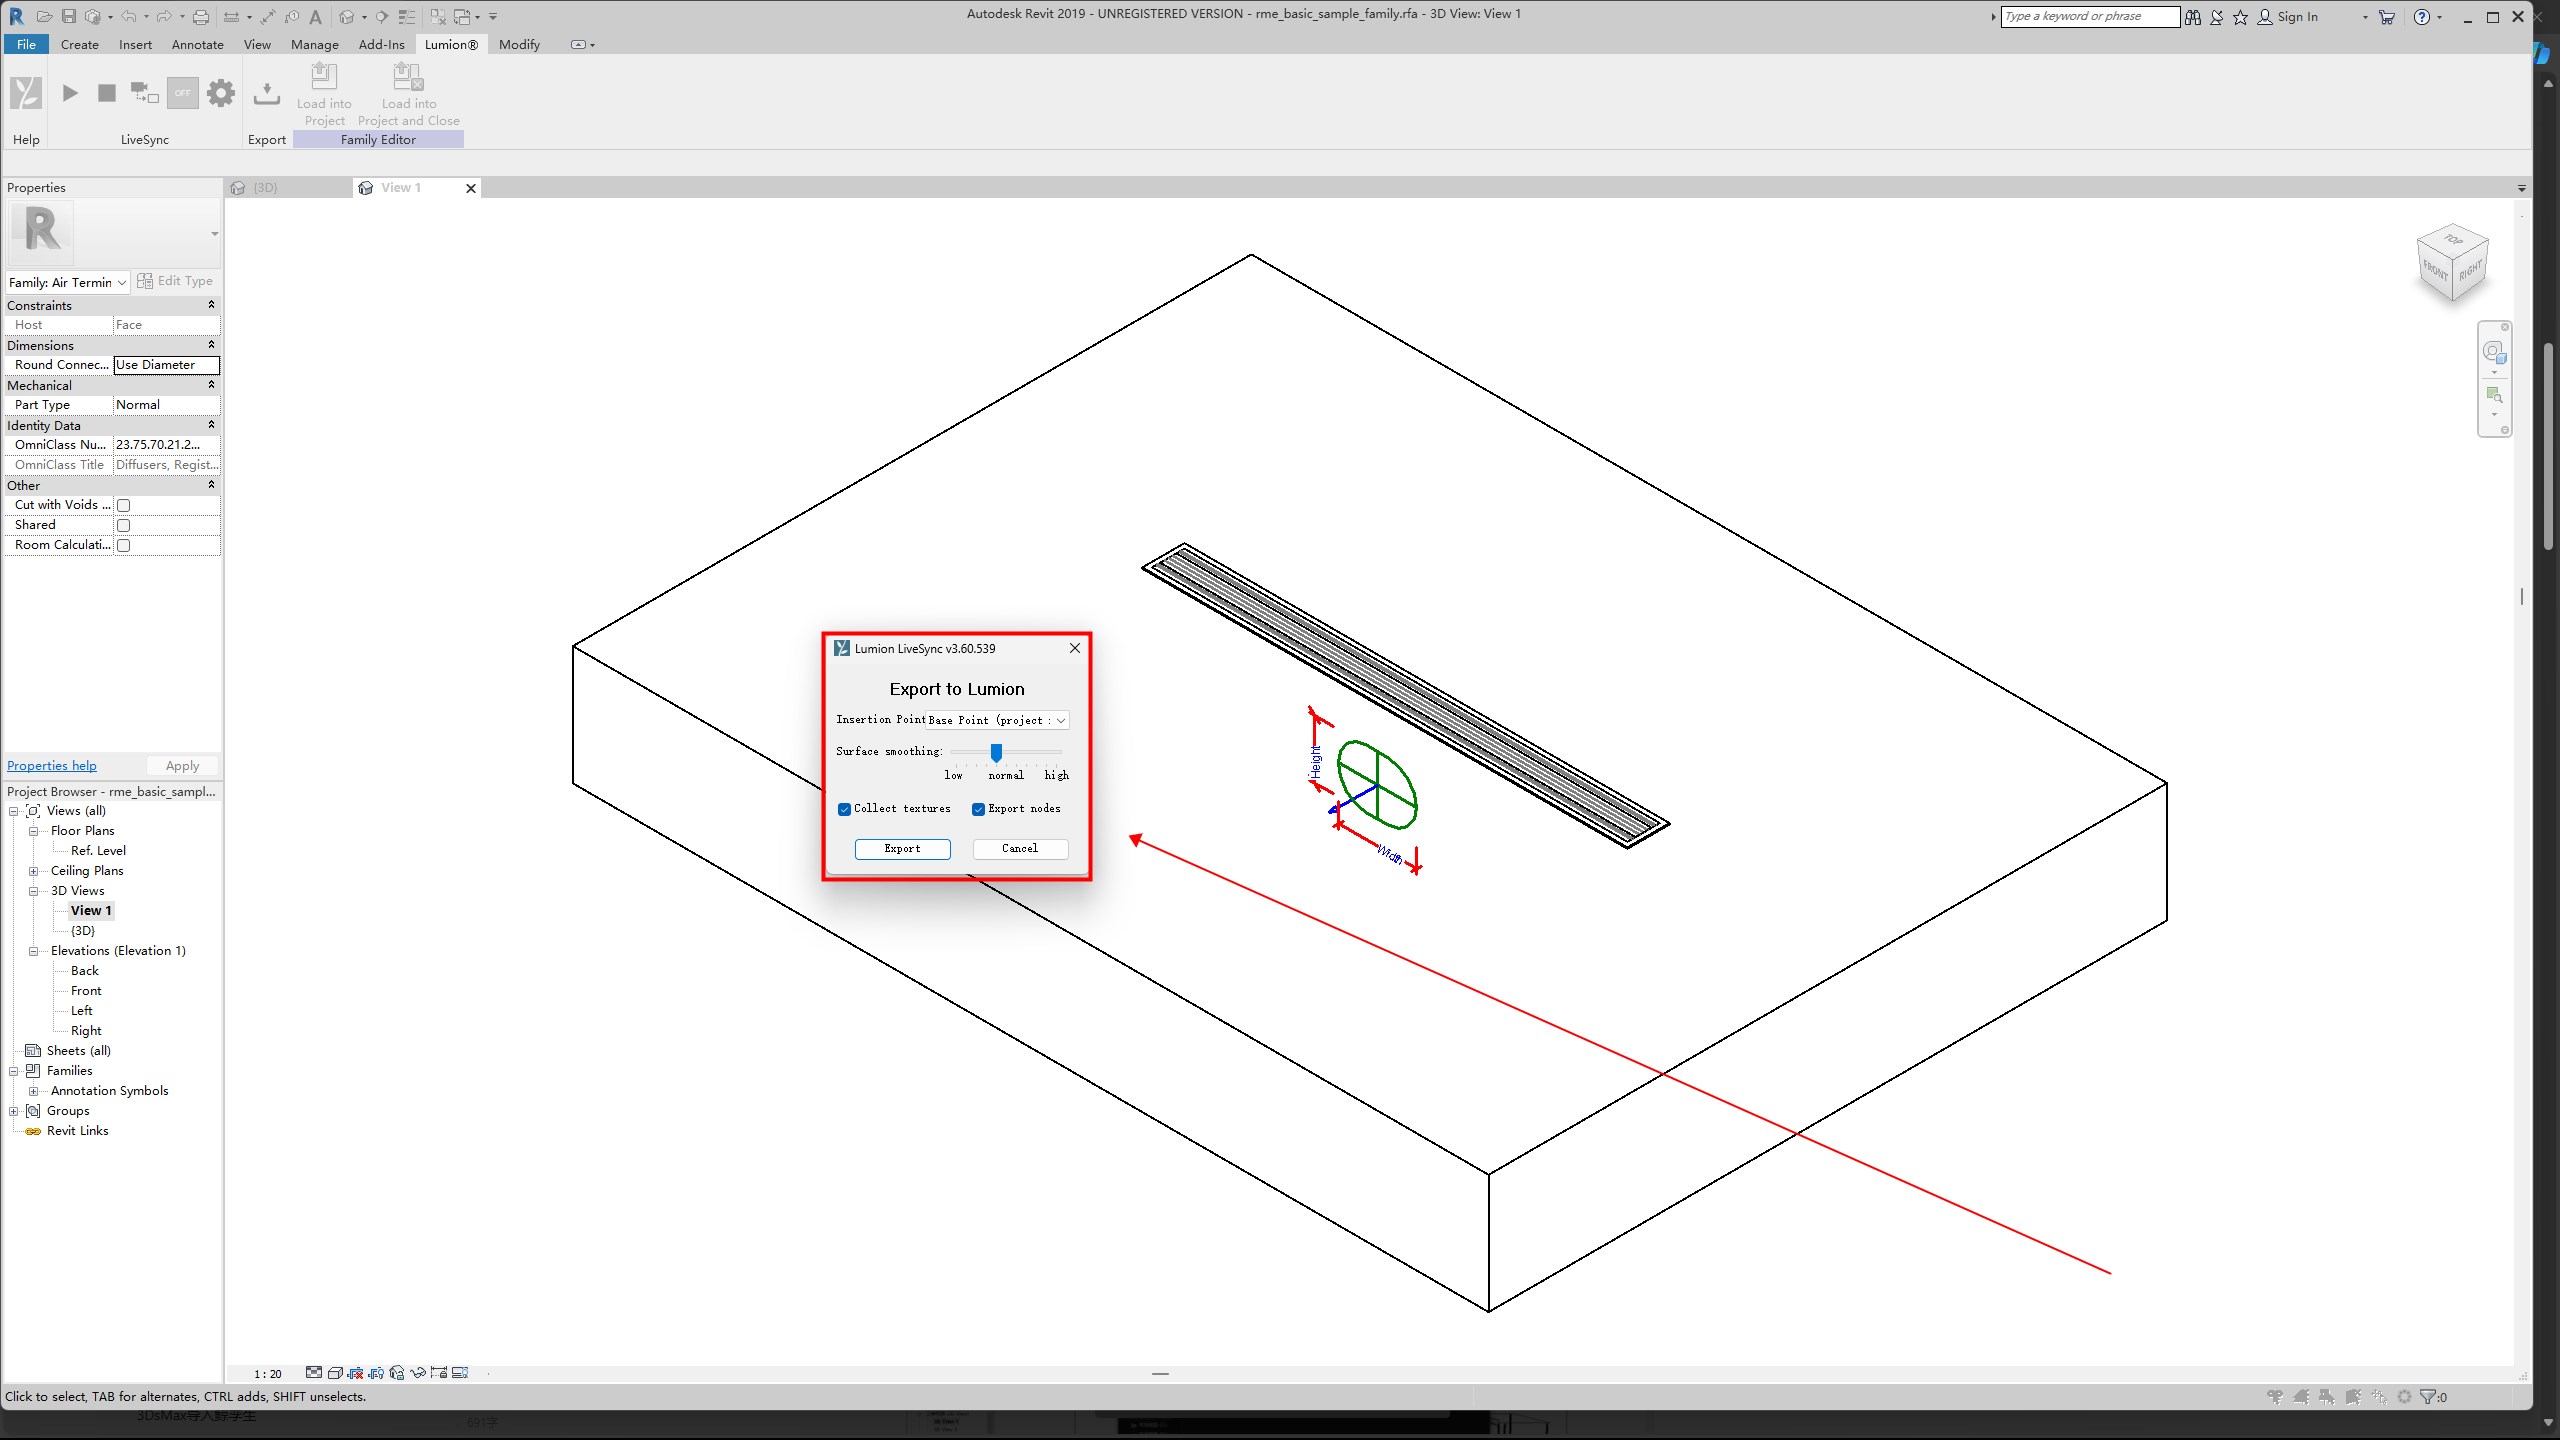
Check all the checkboxes in the dialog, then click “Export”.
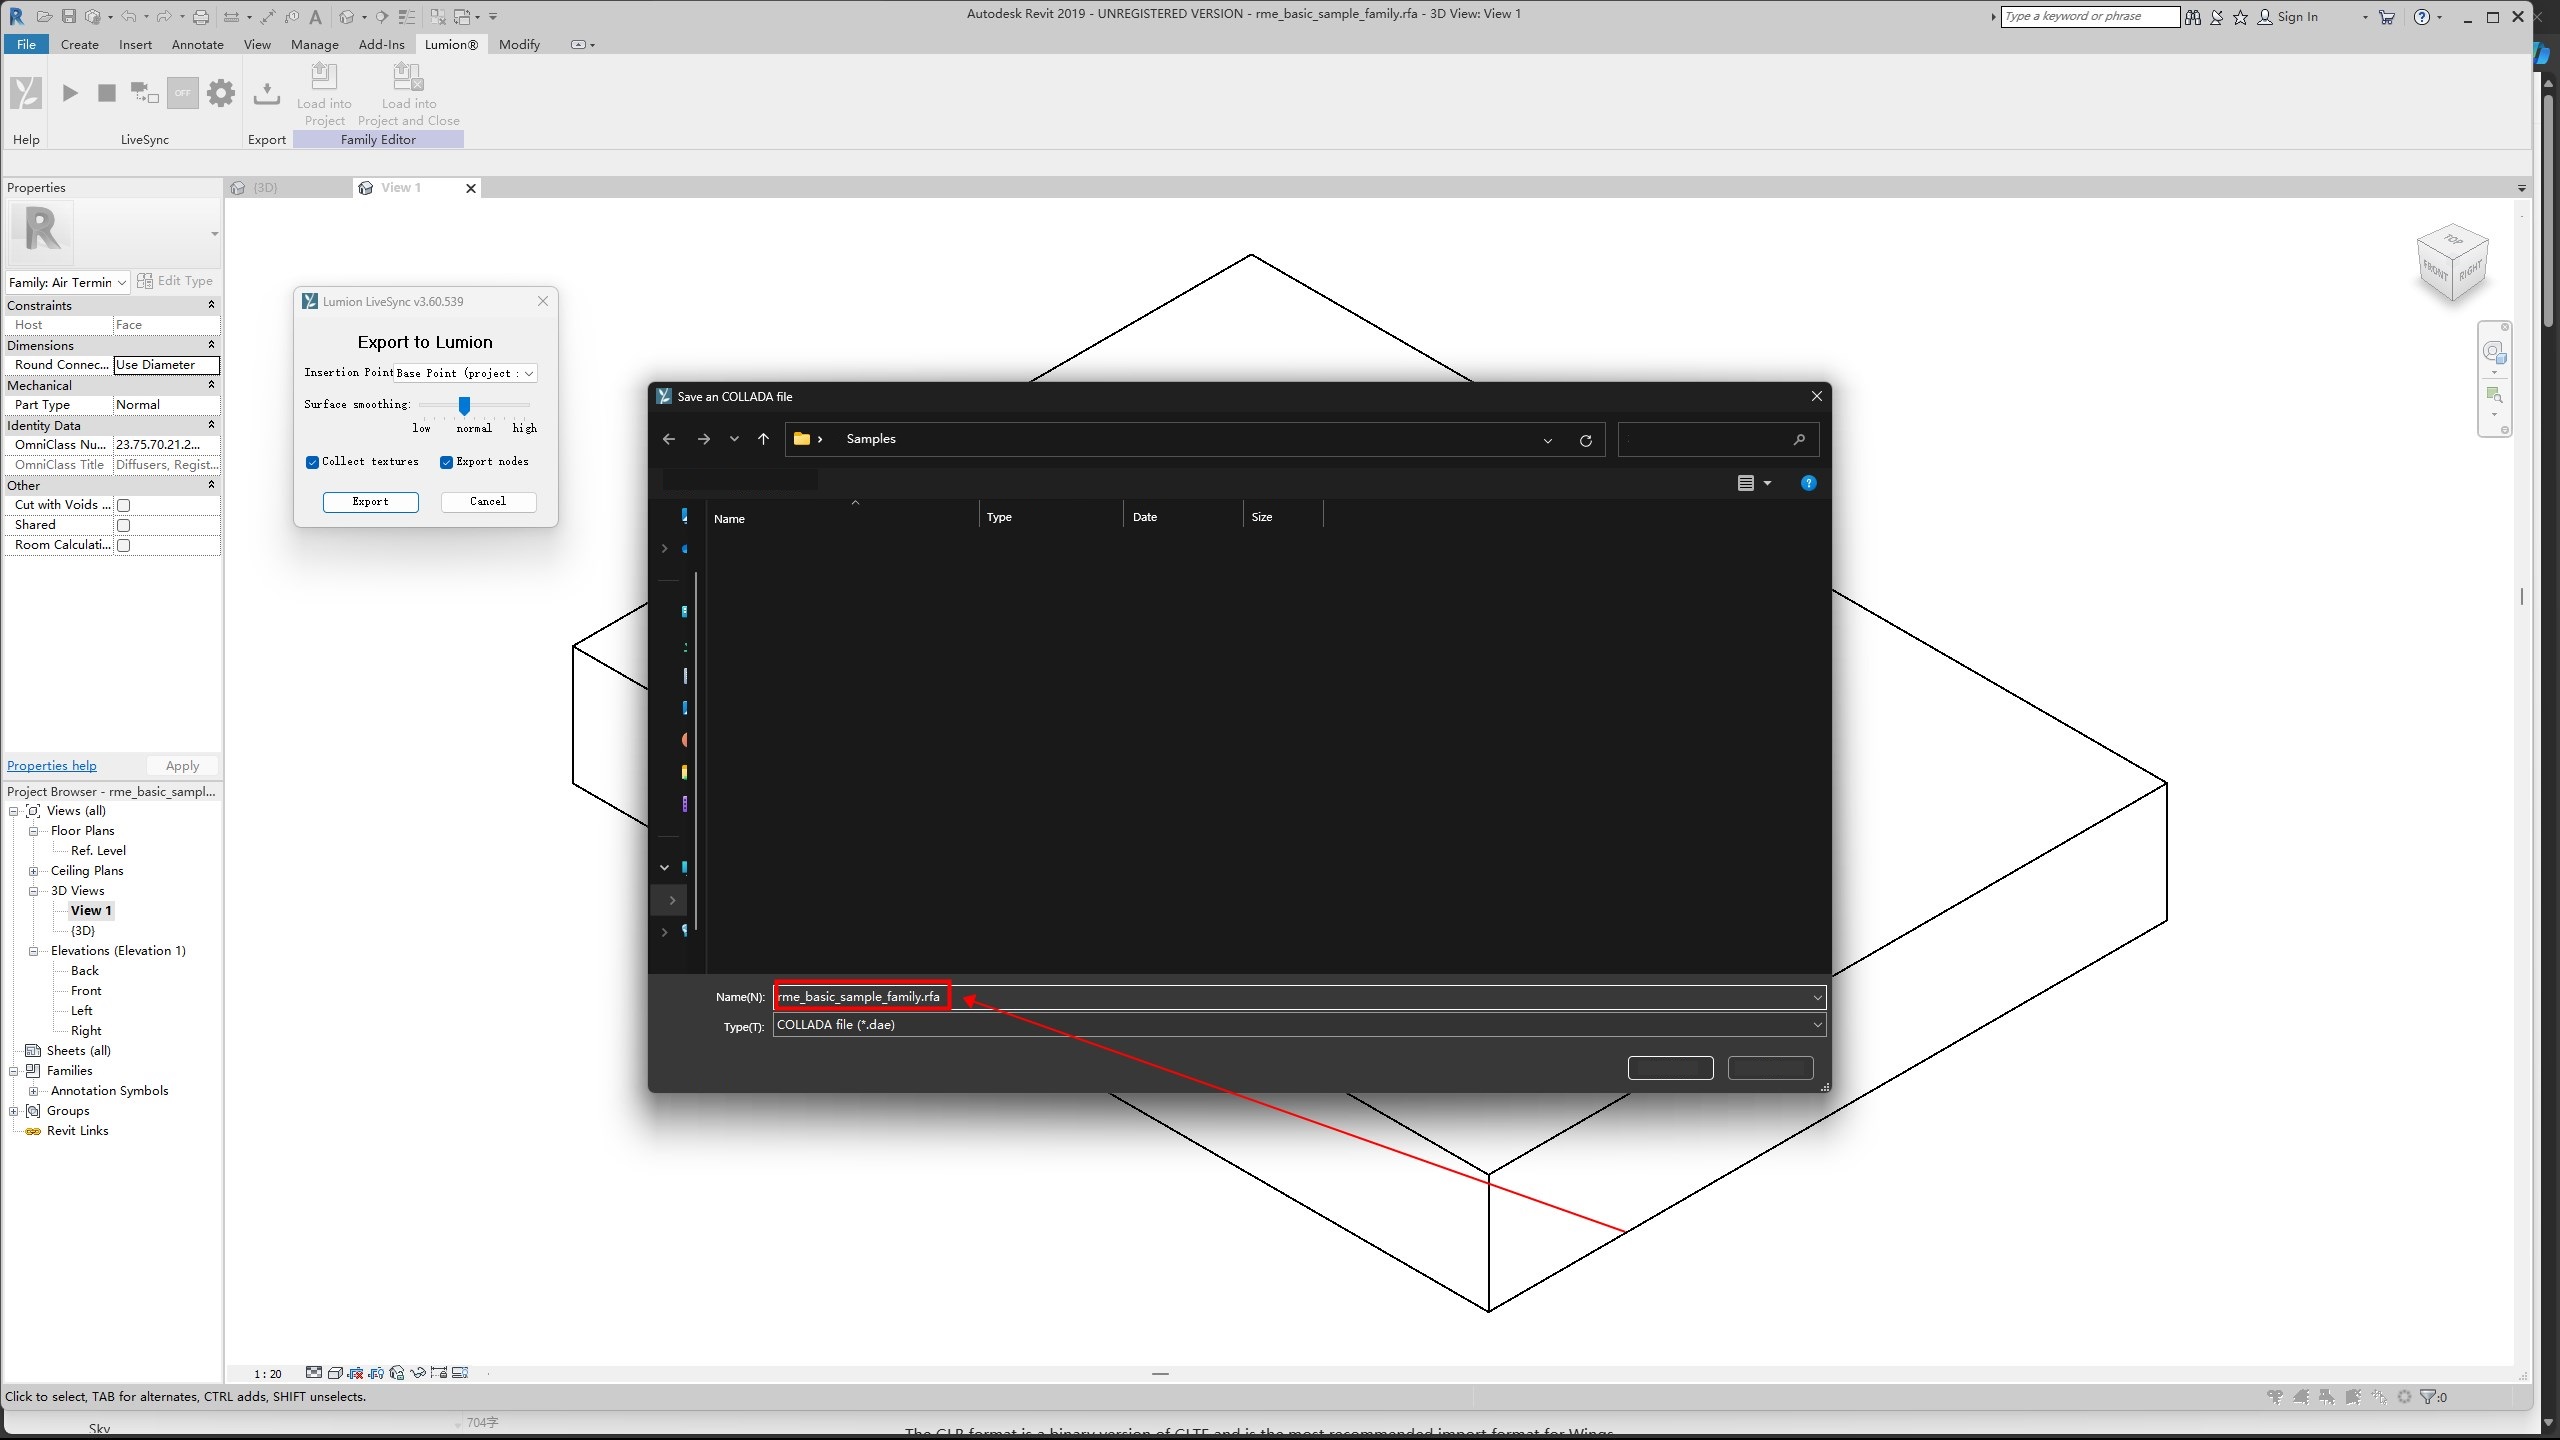
Finally, name the file and export the DAE model file.
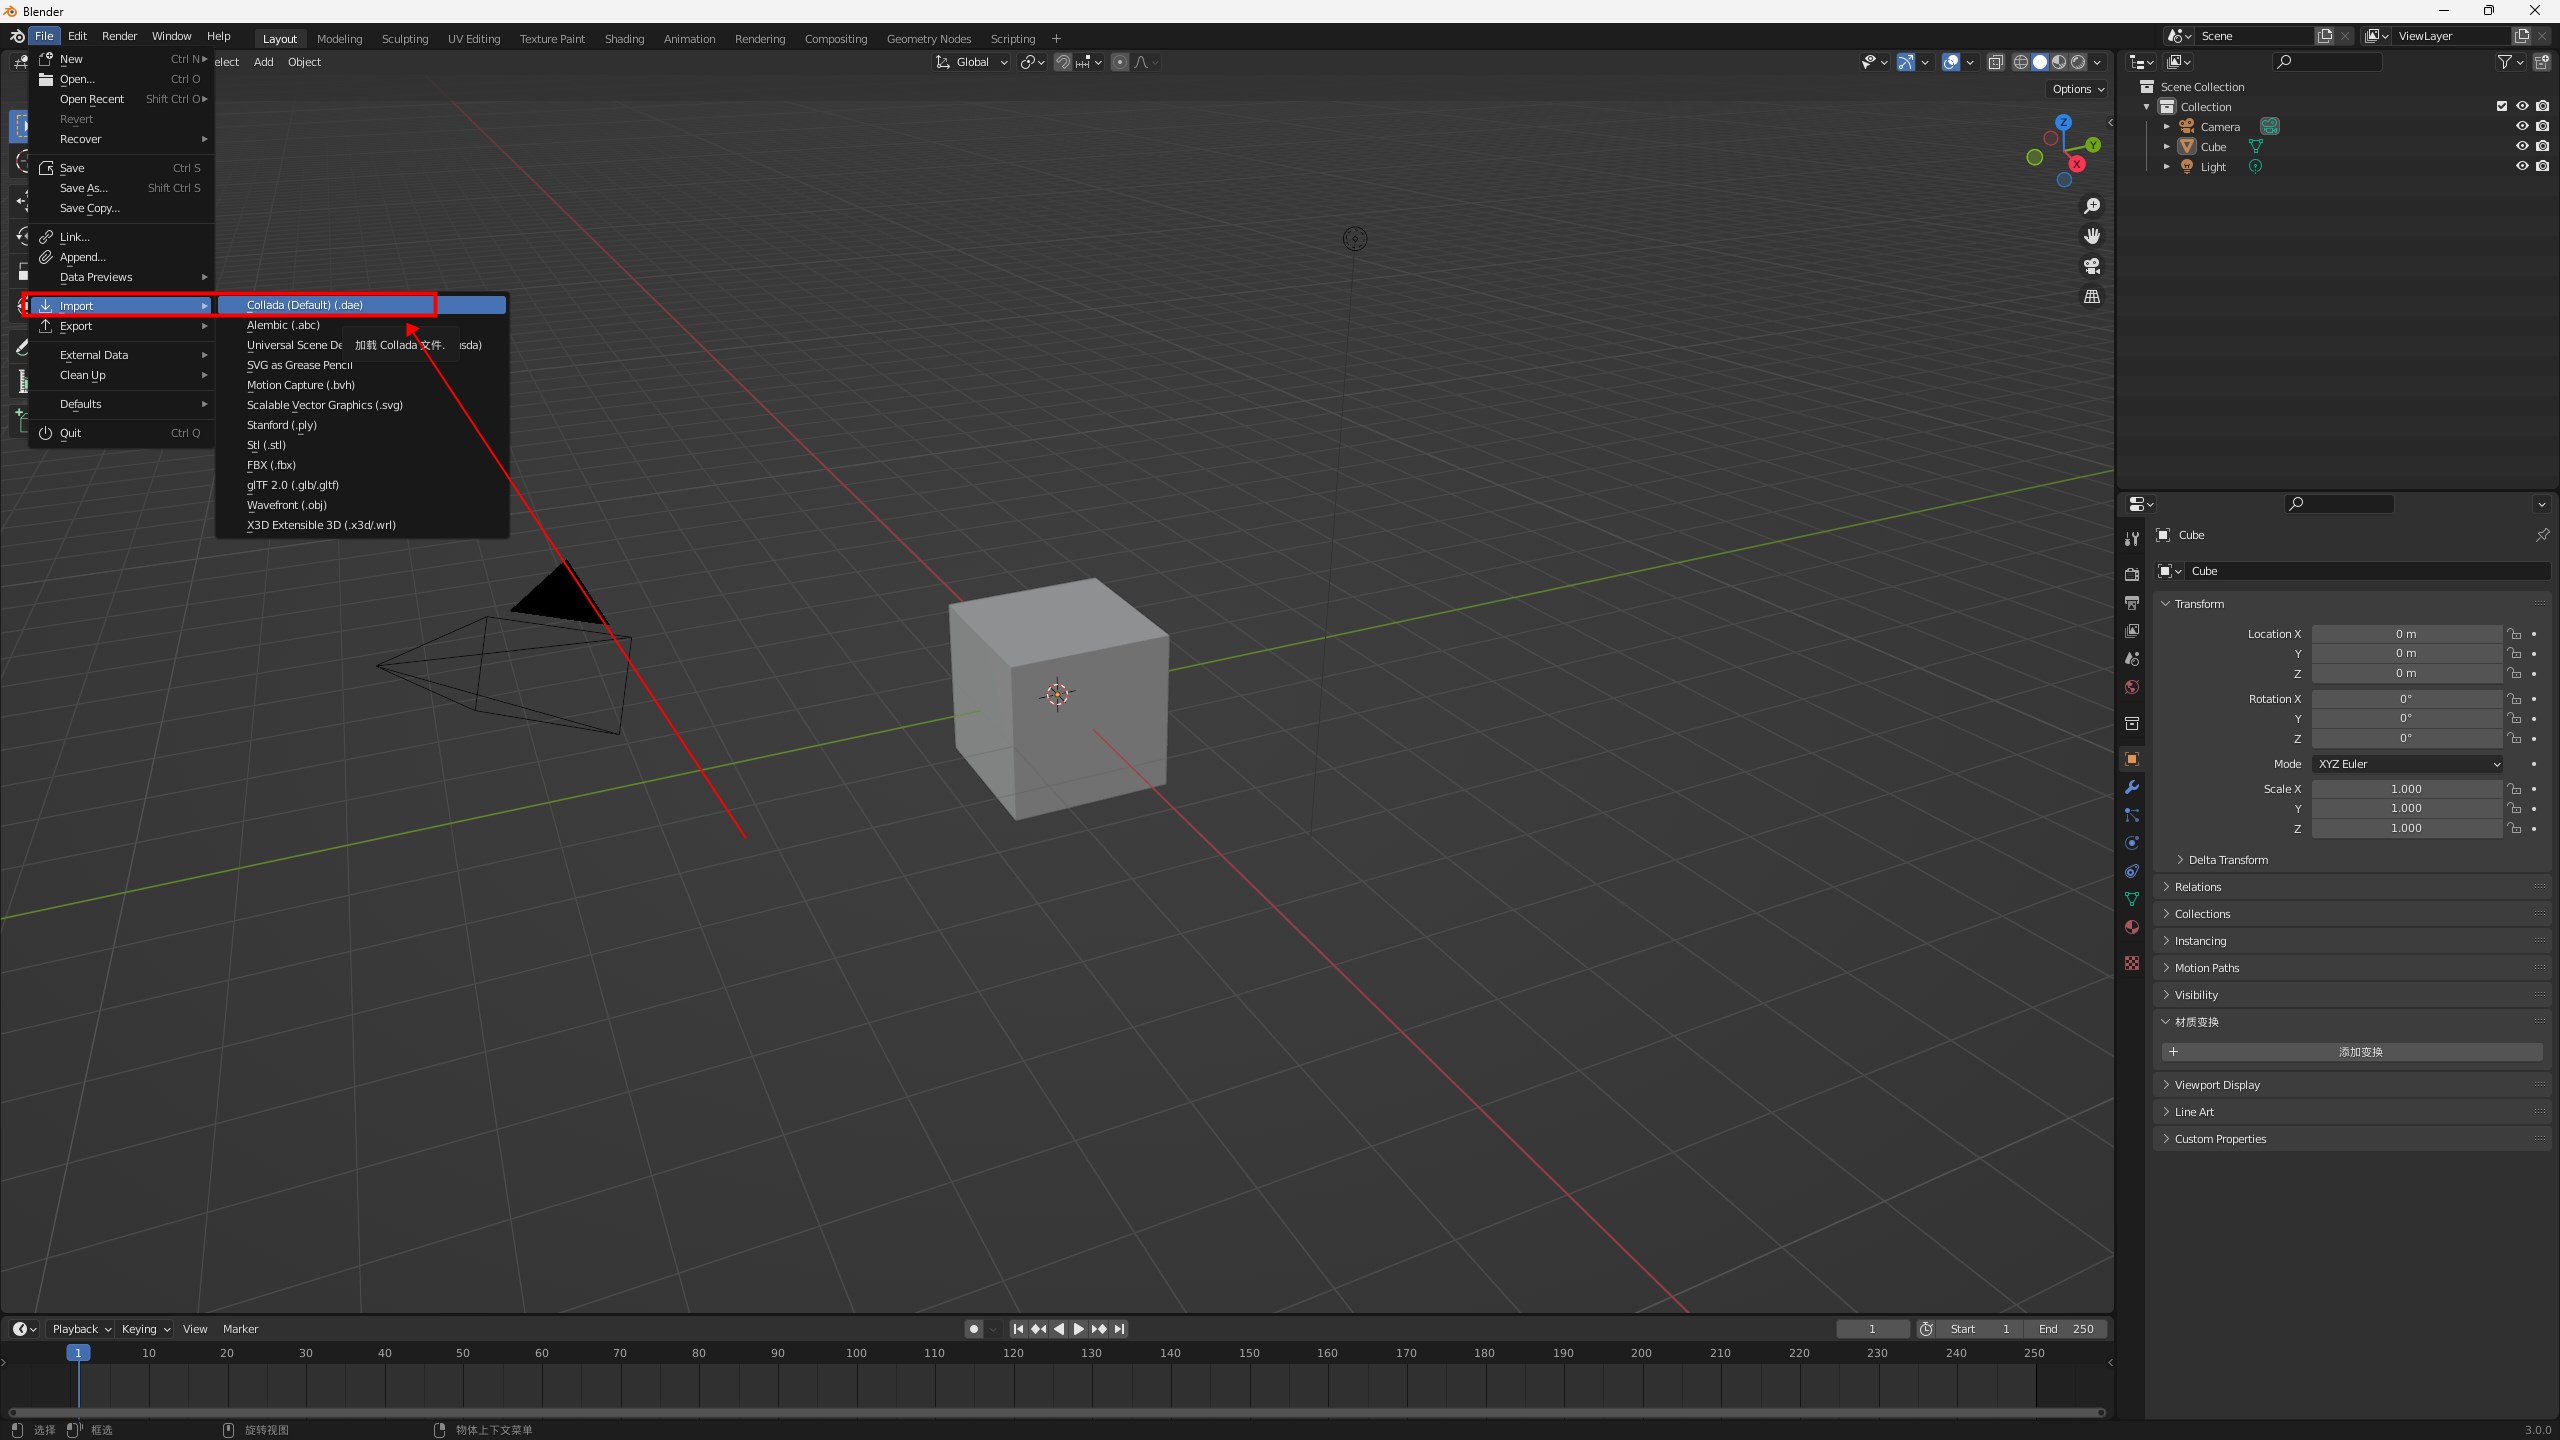
2. Importing DAE Model Files into Blender
Open Blender and go to the “File” menu. Click “Import” and select the option to import** DAE model files**.
3. Exporting GLB/GLTF Model Files from Blender
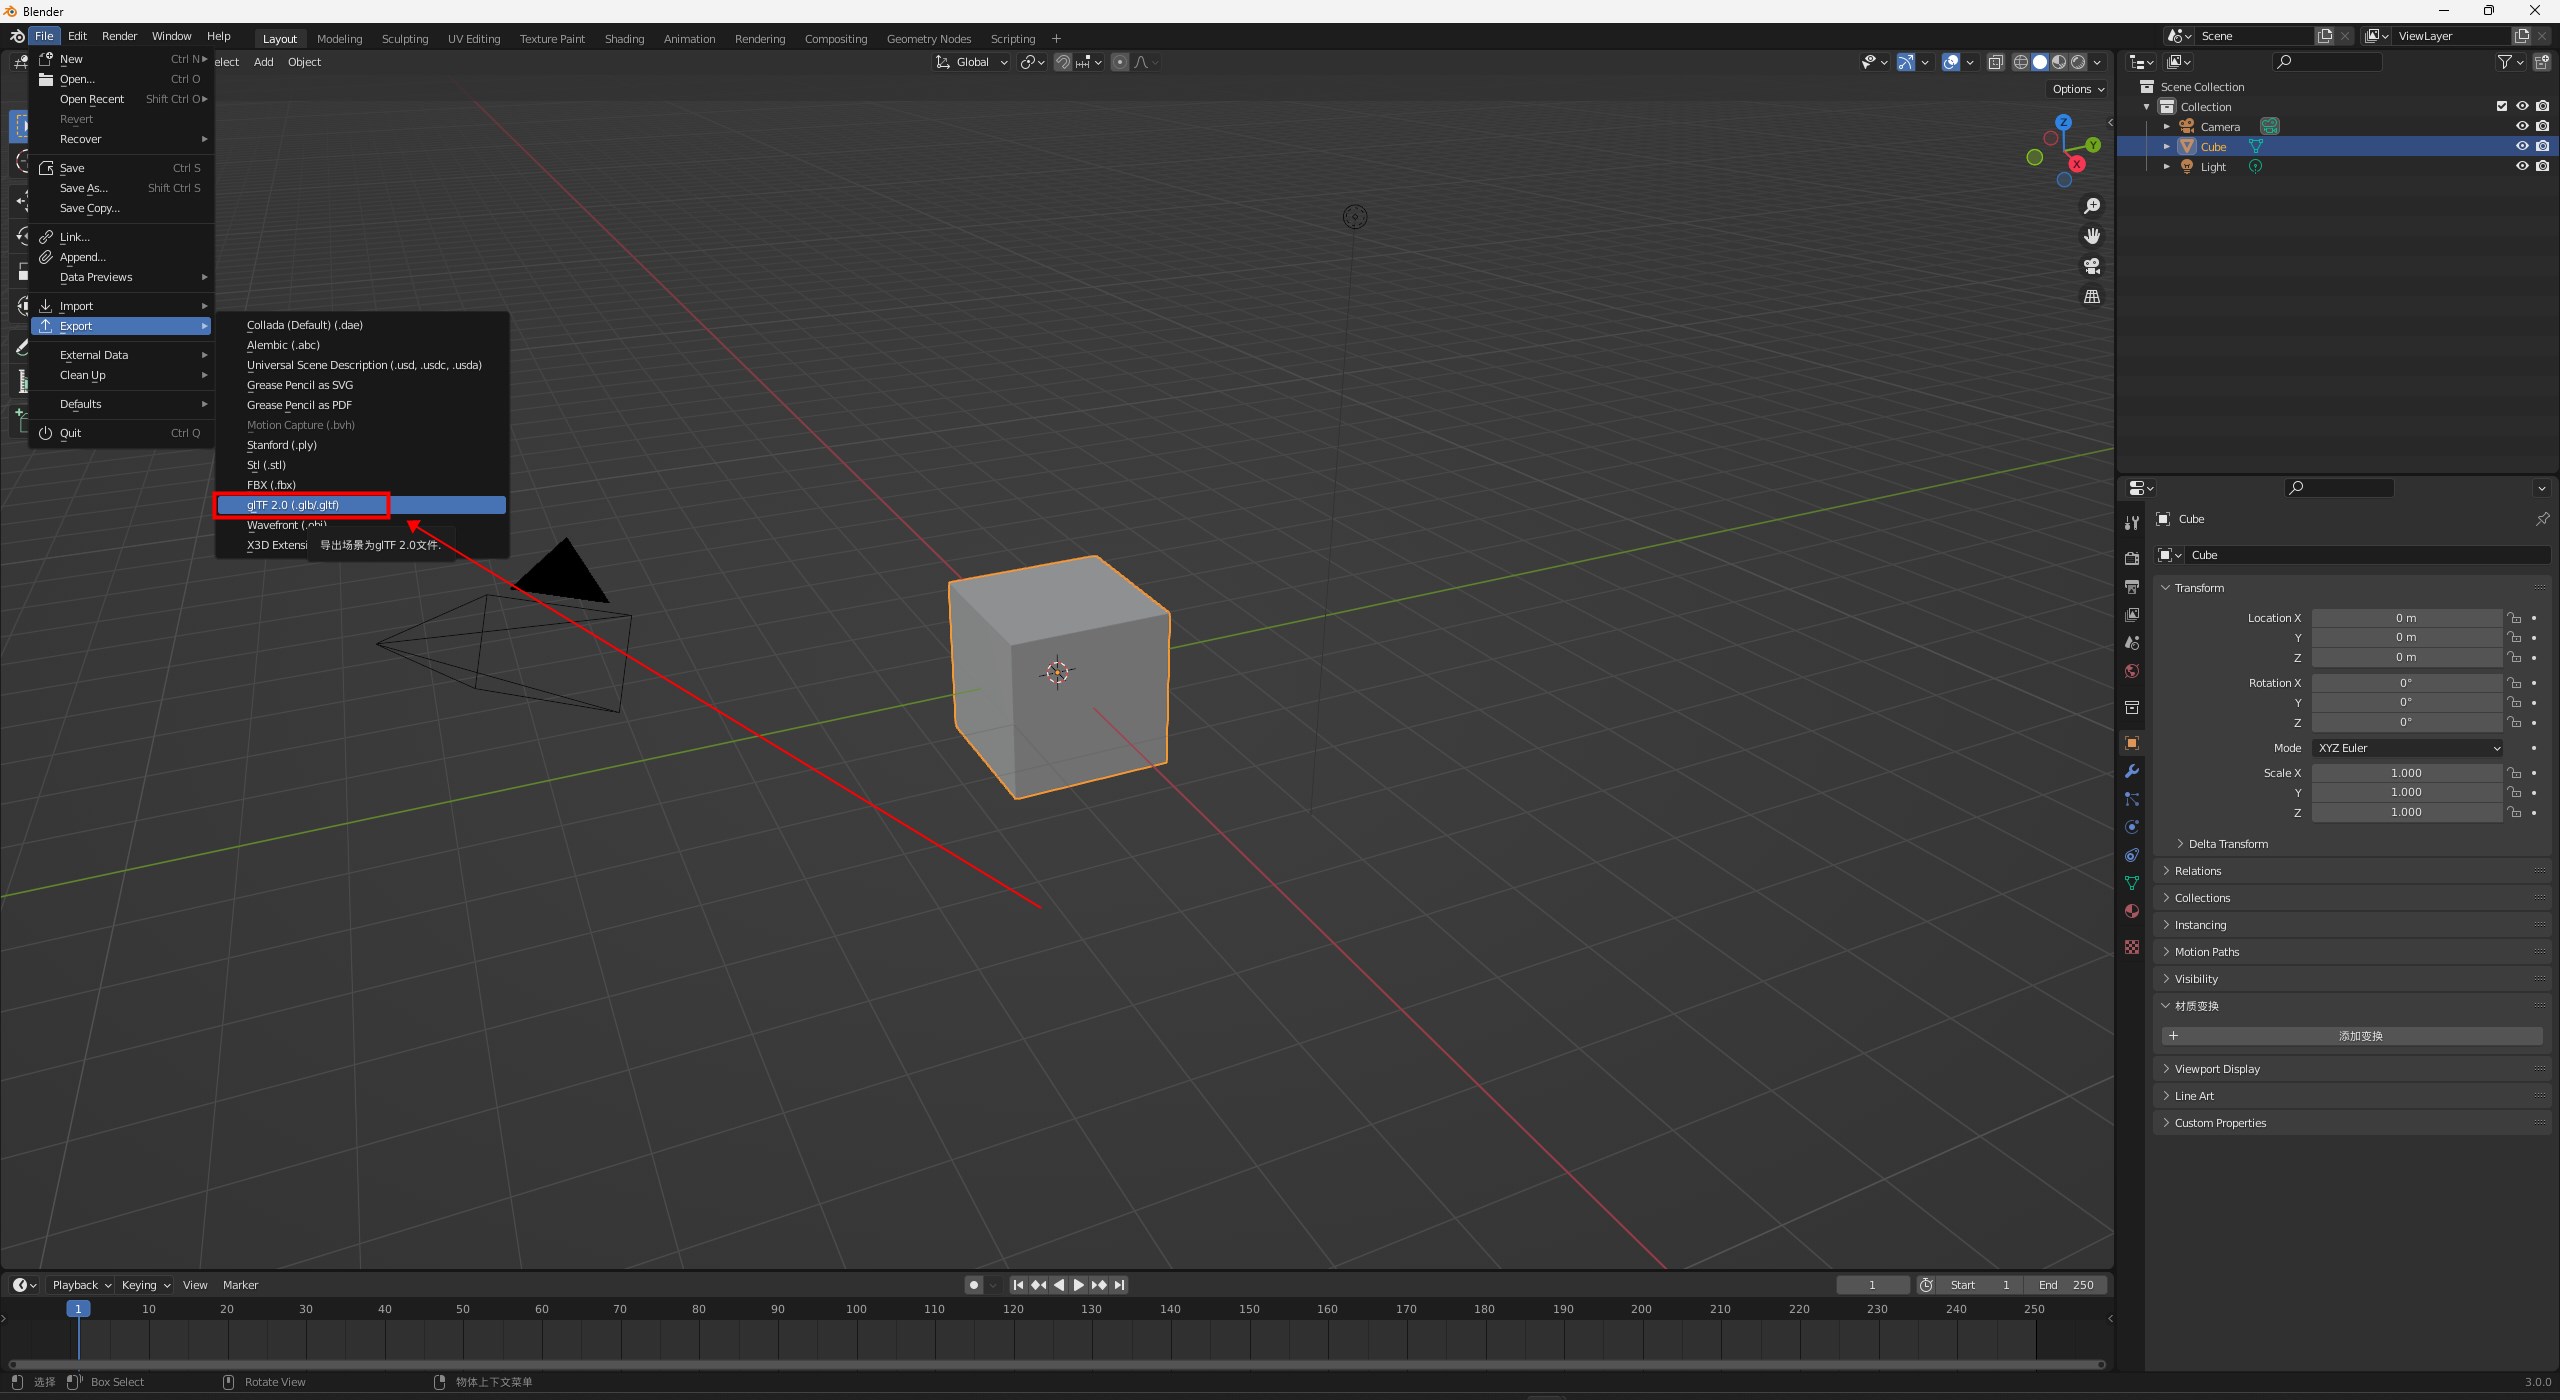
In Blender, open the “File” menu and click “Export”. Choose the GLB/GLTF format.
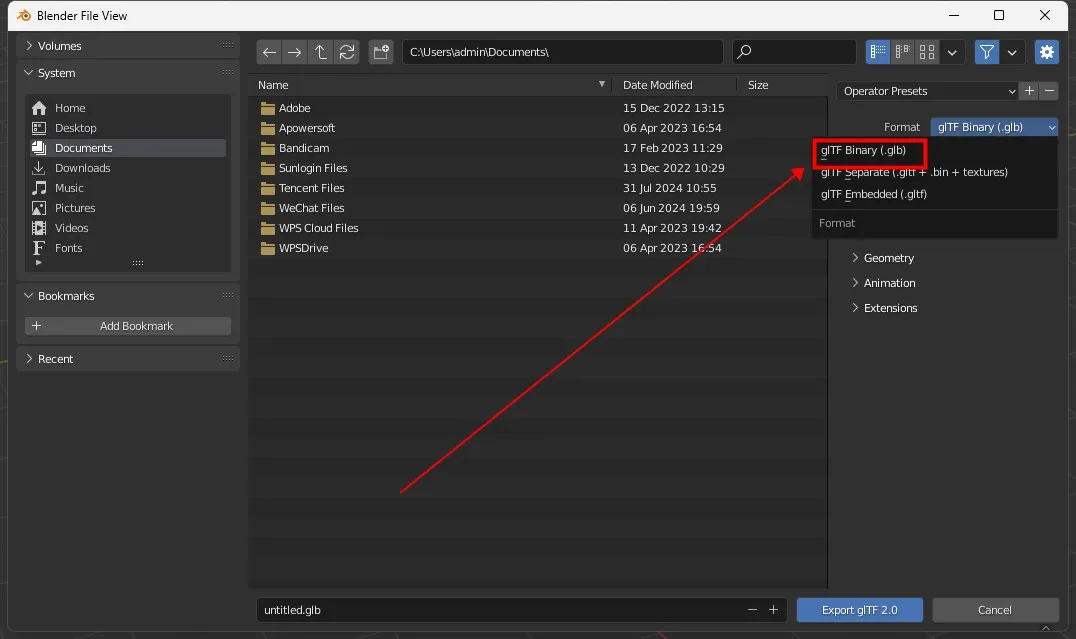
Set the file export path, then click “Export” to save the DAE model imported into Blender as a GLB/GLTF model file.
4. Importing GLB/GLTF Model Files into Wings Engine
To import a model file in the Wings Engine editor, click “Models” in the left panel, and then click the “+” icon in the “Local” menu to import the model file.
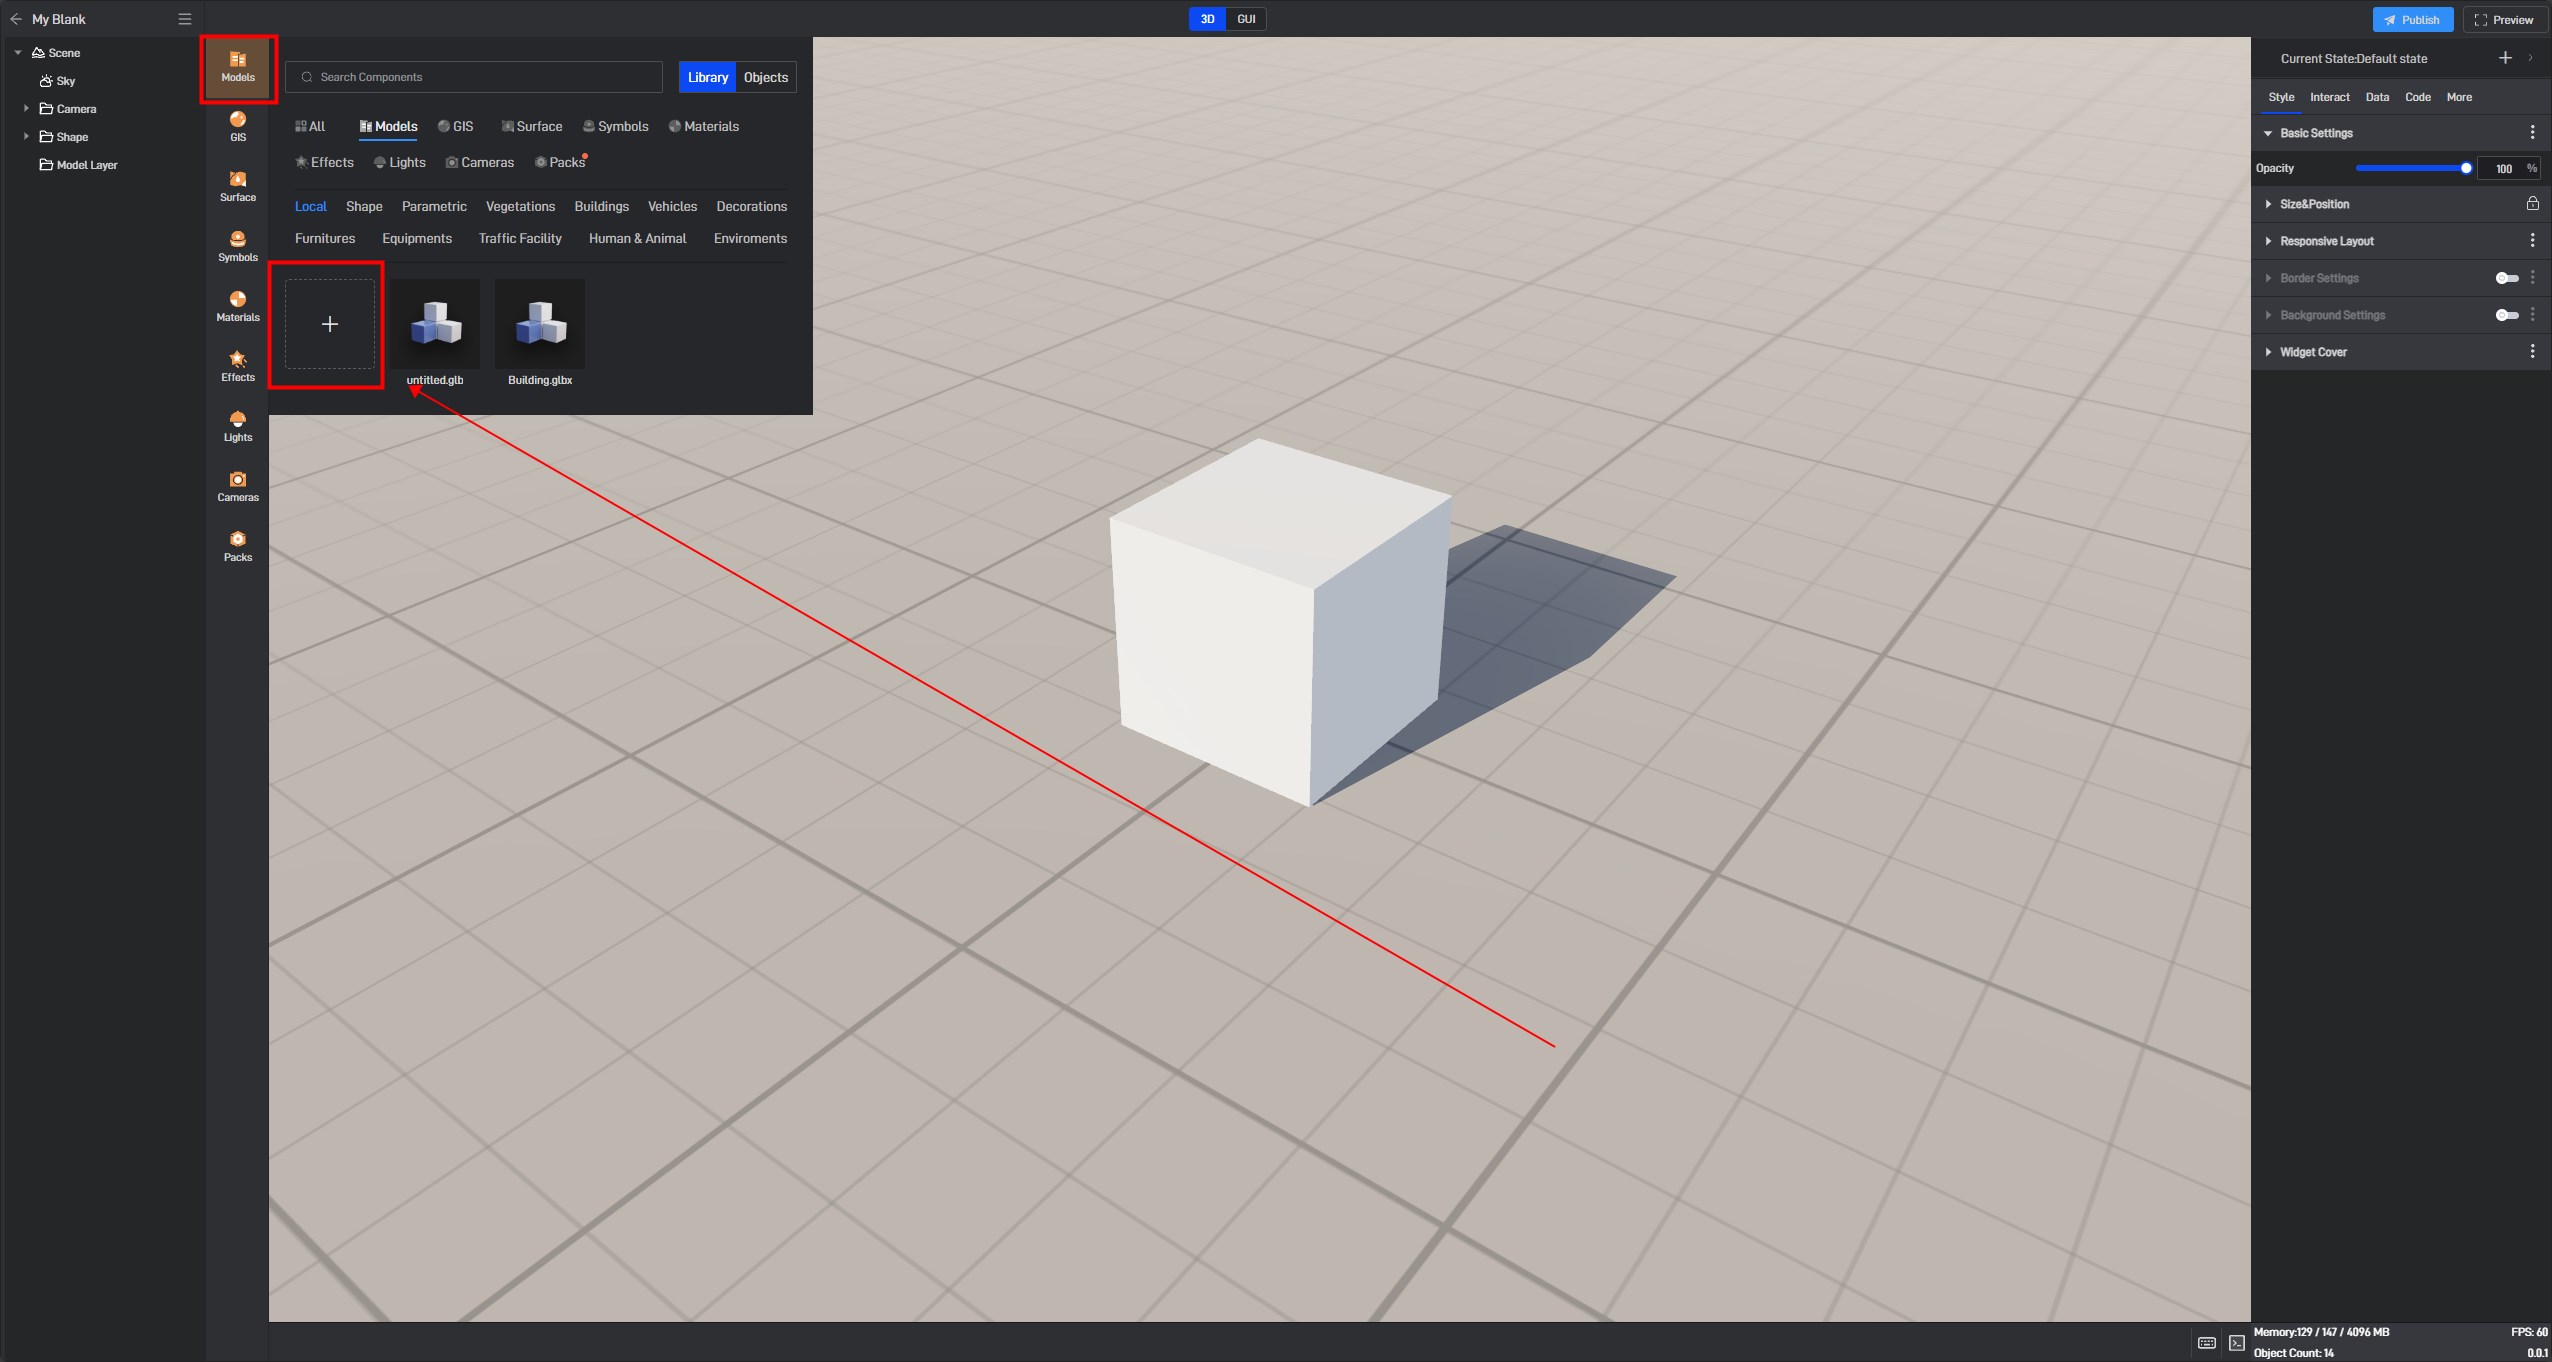
With these steps, the DAE model has been successfully imported into Wings Engine.
